How to replace pickleball paddle grip
Have you ever paused during a pickleball match, only to find your paddle slipping from your grip? This might be a sign that it’s time for a change. Learning how to replace pickleball paddle grip is not just a matter of maintenance; it’s an upgrade to your gameplay, precision, and comfort. This article will guide you through each step of replacing your paddle grip, ensuring you regain your best form on the court. Whether you’re a seasoned player or just starting out, mastering this skill can drastically improve your game’s consistency and your confidence. Ready to grip your success? Let’s get started.
Why replace your grip?
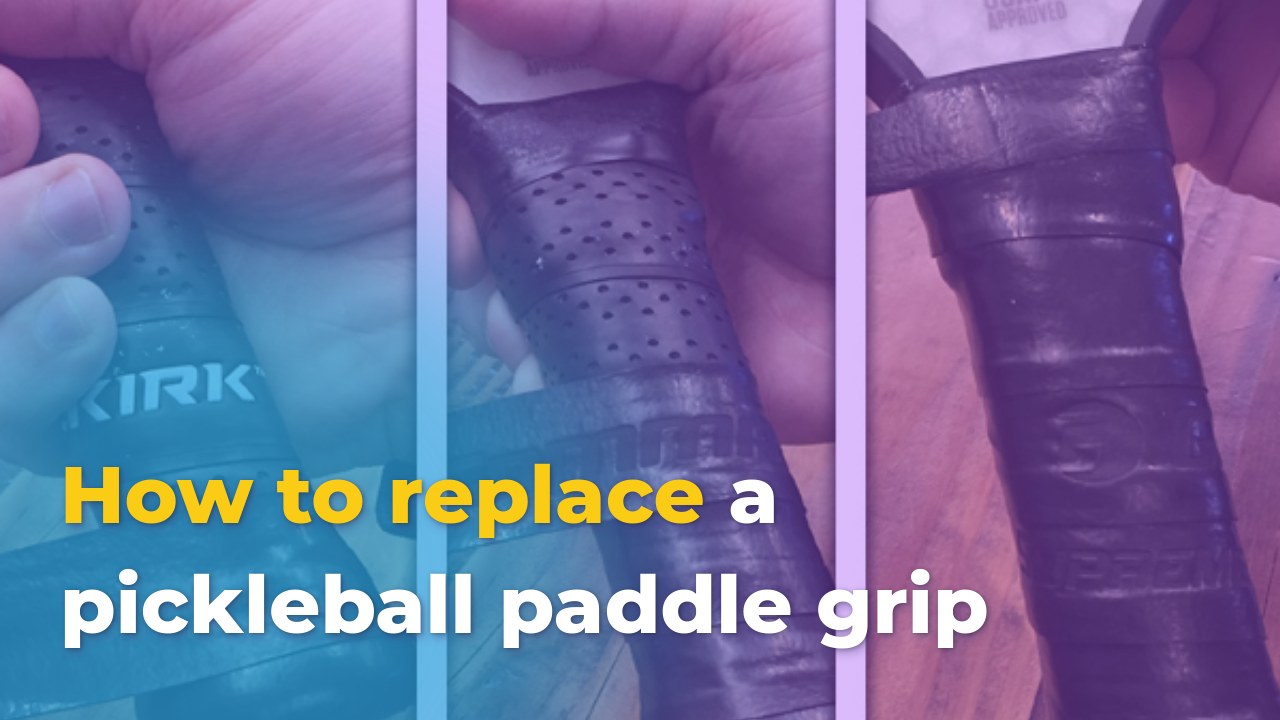
Replacing your pickleball paddle grip might not be the first thing on your mind, especially when you’re eager to get back on the court and smash some winners. However, the grip of your paddle plays an integral role in how you handle the paddle and, ultimately, how you perform in a game. Just like worn-out shoes can hinder your run, an old, slippery grip can negatively impact your game.
When to replace your grip
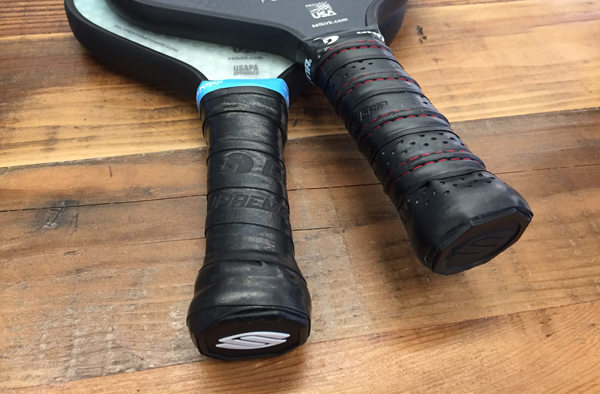
Let’s start by looking at when it’s time to replace your pickleball paddle grip. The answer is relatively straightforward: it’s time to replace your grip when it becomes worn, slippery, or no longer provides the desired level of comfort and control. Over time and with constant use, the grip’s material deteriorates, losing its initial tackiness and cushioning. This can be due to a variety of factors such as sweat absorption, exposure to the elements, and simple wear and tear. If you find yourself constantly readjusting your hold or if the paddle feels less secure in your hand, it’s a sign that a new grip is needed.
Benefits of replacing your grip
Replacing the grip on your paddle offers several significant advantages. First and foremost is the added cushioning and improved ergonomics you’ll enjoy compared to the original factory grip. Modern grips are designed with advanced materials that provide better shock absorption and comfort, reducing strain on your hands and wrist.
Moreover, a new grip enhances sweat absorption and tackiness, ensuring that your paddle won’t slip during intense rallies. Think of a new grip as a fresh pair of gloves that fit perfectly and offer excellent control an inexpensive way to refresh and customize your pickleball paddle to your preference and playing style.
Additionally, one of the underrated benefits is the ability to fine-tune the grip size. Some players prefer a thicker grip for more cushioning, while others might want a thinner grip for better maneuverability. By changing the grip, you have the chance to experiment and find what works best for you.
Tools and materials
Before diving into the step-by-step process of replacing your paddle grip, it’s essential to gather the necessary tools and materials. Think of this as gathering your ingredients before cooking a new dish you want to be prepared so the process runs smoothly. Here’s a detailed list of what you’ll need.
Replacement grip
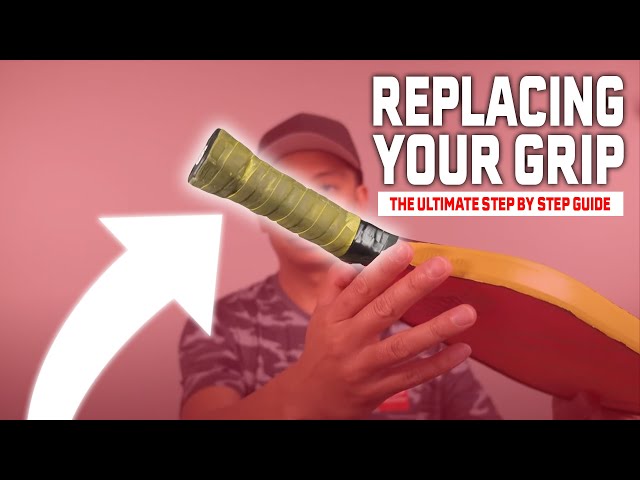
The replacement grip is the star of this operation. There are several types of grips available, and choosing the right one involves considering factors like thickness, material, and brand. Brands like Gamma and ProLite are well-known for their high-quality grips.
Overgrip tape (optional)
Overgrip tape is an optional addition, providing an extra layer of cushioning and tackiness. Unlike the main grip, overgrips are usually thinner and less expensive. They can prolong the life of the main grip and provide additional customization options for the player.
Scissors
A good pair of scissors is essential for trimming the excess grip material. You might also consider kitchen shears for a cleaner, more precise cut.
Finishing tape
Finishing tape, often included with the replacement grip, is crucial for securing the end of the grip. It can be electrical tape, but a proper finishing tape designed for sport grips provides a better, more professional finish.
Removing the old grip
Now, we move on to the practical part removing the old grip. This step requires patience and care to prepare the paddle handle for the new grip.
Removing the finishing tape
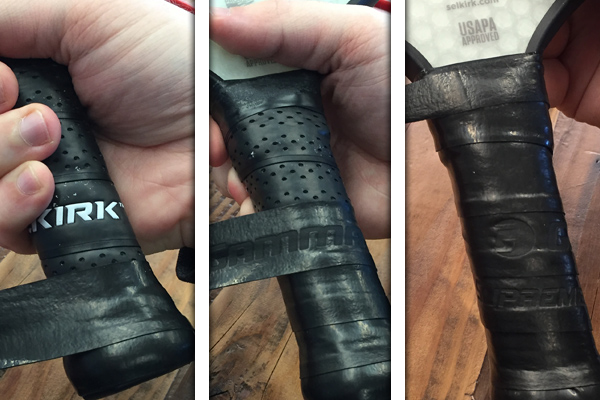
The first step in removing the old grip is to take off the finishing tape. Use a knife or scissors to carefully cut and peel off the finishing tape. This tape is usually located at the top of the grip, securing the end to the paddle handle. Gently peel back the tape to avoid tearing the grip underneath.
Peeling off the old grip
Next, you’ll peel off the old grip. Start at the top where you removed the finishing tape and work your way down. Use the scissors or a sharp knife to cut through the old grip material, if necessary. Slowly peel the grip off the paddle handle, making sure to remove any adhesive residue left behind. It’s like peeling off a band-aid; take your time to ensure you’re not damaging the paddle beneath.
Applying the new grip
With the old grip removed, the next step is to prepare and apply the new grip. This is where the transformation happens, breathing new life into your trusted paddle.
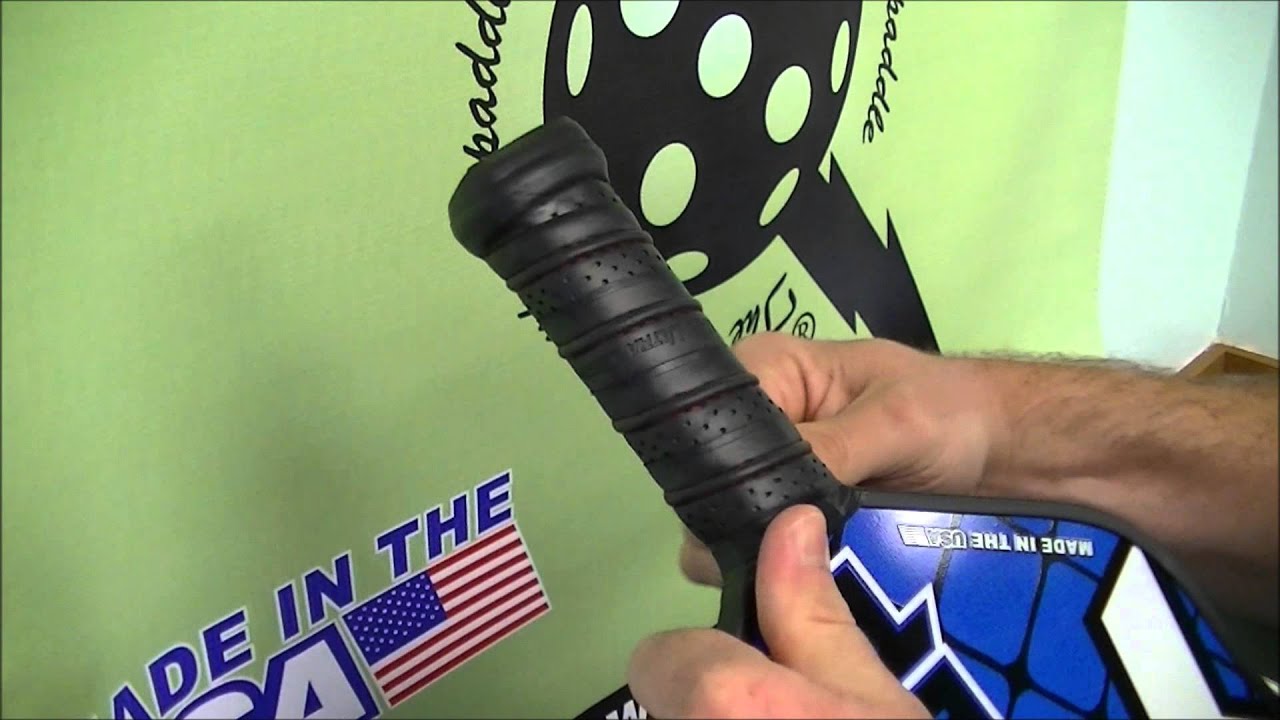
Preparing the grip
Before you begin wrapping, unroll the new grip and ensure the adhesive side is facing up. Some grips come with a protective backing that you’ll need to peel off to expose the adhesive. Make sure your paddle handle is clean and dry; a damp cloth can help remove any adhesive residue or dirt left from the old grip.
Attaching the tapered end
Start by attaching the tapered end of the new grip to the bottom of the paddle handle. Most grips come with a removable tab at the end pull this off to reveal the self-adhesive backing. Align the tapered end of the grip with the left side of the butt cap if you are right-handed; if you are left-handed, do the opposite.
Wrapping the grip
Wrap the new grip around the handle in a spiral pattern. Overlap each layer slightly and apply firm pressure as you go. This ensures a tight, secure wrap. Think of it as wrapping a bandage consistently tight and even. If you want a thicker grip, incorporate more overlaps as you wrap.
Securing the grip
Once you’ve wrapped the entire handle, it’s time to secure the grip. Use the provided finishing tape to secure the top end of the grip. Wrap the finishing tape around the handle a few times to ensure it’s fastened securely.
Trimming the excess grip
Finally, trim any excess material at the top of the handle with your scissors. Cut at a shallow angle to make sure it wraps around the top seamlessly.
Applying an overgrip (optional)
Adding an overgrip is an optional step that can provide extra comfort and tackiness. Here’s how to do it.
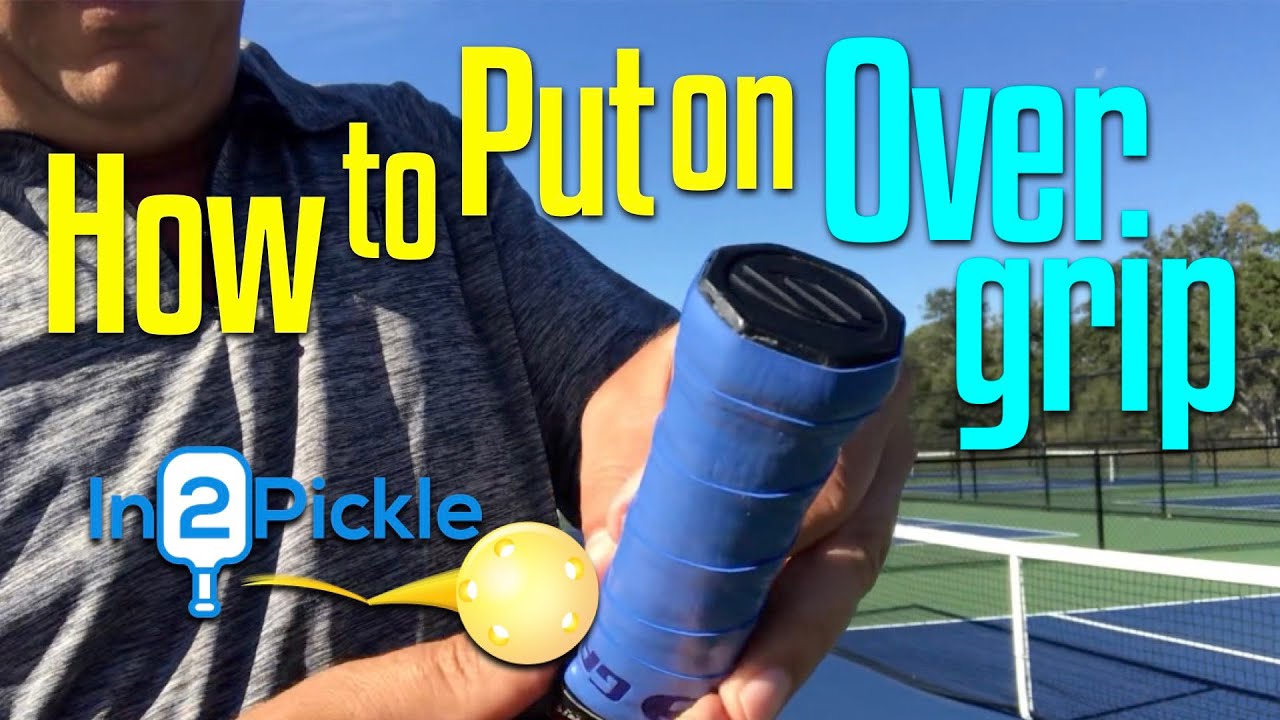
Preparing the overgrip
Start by removing the adhesive strip from the tapered end of the overgrip, just like you did with the main grip. Ensure the paddle handle is clean and dry.
Read more: Best pickleball grip for sweety hands
Attaching the overgrip
Align the tapered end with the left side of the butt cap if you are right-handed, or the right side if you are left-handed. Begin wrapping the overgrip tightly around the handle, overlapping each layer slightly.
Securing the overgrip
Once you’ve wrapped the entire length of the handle, use scissors to trim any excess overgrip material. The finishing tape provided should be used to secure the top end of the overgrip.
Conclusion
Congratulations! You’ve successfully replaced your pickleball paddle grip. The new grip should provide better comfort, control, and performance, making your time on the court even more enjoyable. Don’t underestimate the impact of a good grip a small change can make a significant difference in your game. So go ahead and enjoy your refreshed, customized paddle!
